If you're going to try, go all the way. Otherwise don't even start.
This could mean losing girlfriends, wives, relatives and maybe even your mind.
It could mean not eating for three or four days.
It could mean freezing on a park bench.
It could mean jail.
It could mean derision.
It could mean mockery--isolation. Isolation is the gift. All the others are a test of your endurance, of how much you really want to do it.
And, you'll do it, despite rejection and the worst odds. And it will be better than anything else you can imagine.
If you're going to try, go all the way. There is no other feeling like that.
You will be alone with the gods, and the nights will flame with fire. You will ride life straight to perfect laughter.
It's the only good fight there is.
No offense Charlie, but this is complete bullshit. What is success without someone to share it with?
Wednesday, June 26, 2013

Tuesday, June 11, 2013
Tick Tock

I promised myself I would be better at making lists, so here we go.
Books Tom has read at least halfway through but not finished:
- Clean Code
- The Ruby Programming Language
- Hacking: The Art of Exploitation
- The Art of Computer Programming: Fundamental Algorithms
- The Pragmatic Programmer
- The Algorithm Design Manual
- Understanding Comics
Things Tom has plenty of:
- Stress from working on Master's thesis
- Stress from looking for enjoyable employment
- A great girlfriend
- A dog that thinks she is a human
- Interests
Things Tom will do this summer:
- Finish thesis work
- Find employment
- Complete 50+ Project Euler solutions in at least three different languages
- Write some audio effects for Mixxx
- Finish the Raspi/Arduino controlled treat dispenser website for Lisbeth
- Create a tiled screensaver/installation of public IP cameras using GStreamer
- Finish the work I started on a granular synth for Buzztrax
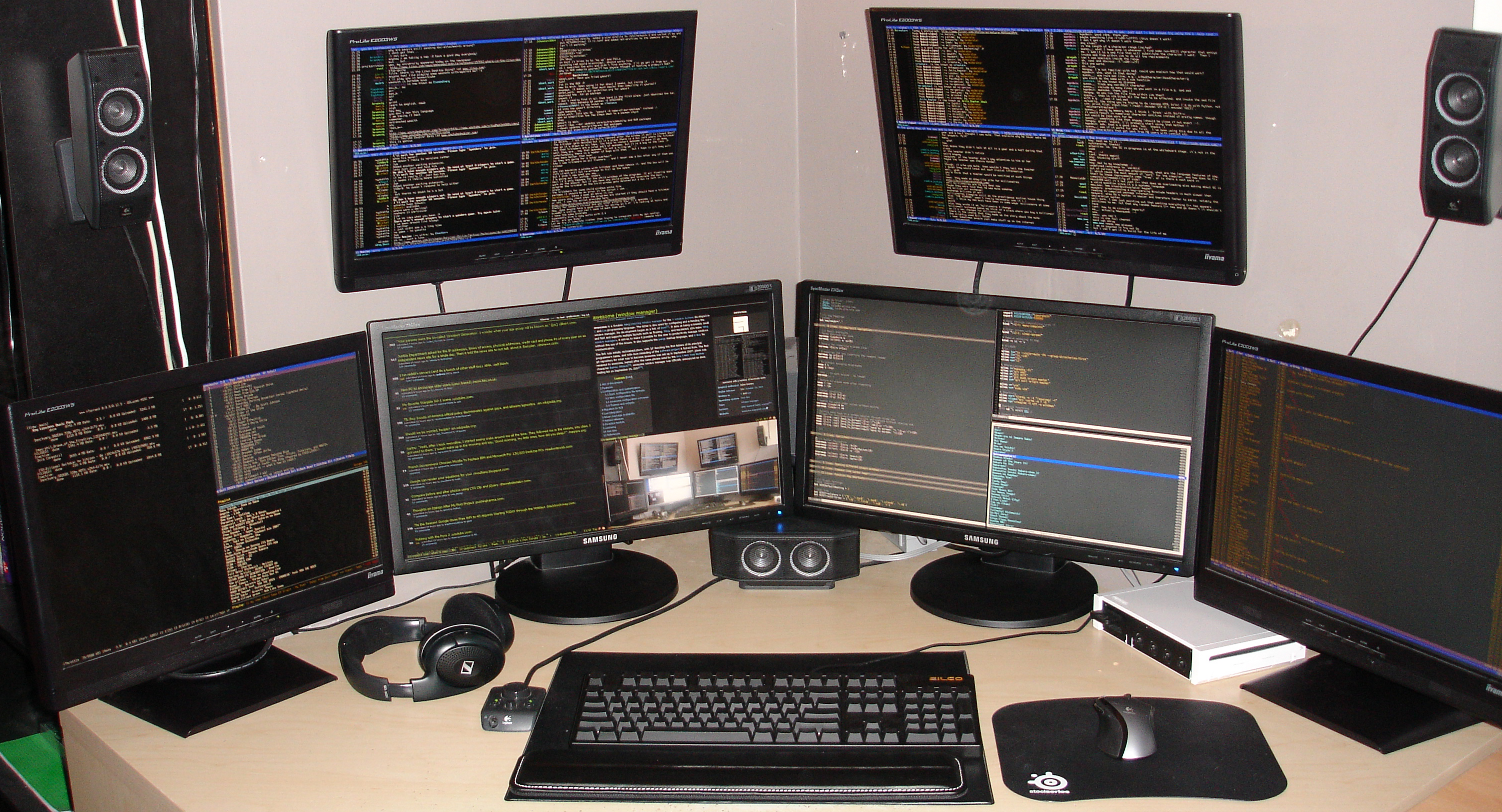
Things Tom does not have, at all:
- One focused interest
- Free time
- A pet Grue
- The new Boards of Canada vinyl (why did I order from overseas...)
Tuesday, May 21, 2013
Aaron
Finally got my Spring 2600 issue, this was the opening article. I wanted to share it but couldn't find an electronic version so I apologize for the scan quality.

Aaron's passing definitely hit me hard. I never even knew the guy, but I feel like I did. Same age, the same interest: Learning/Growing/Fixing.
Saturday, May 18, 2013
Raspberries and Dremel Tools
The official camera module for the Raspberry Pi was just released and I received mine a few days ago. I've had an idea for a neat case for one of my rPis and this was just the kick in the pants I needed to follow through on it. Plus it was nice to get away from my thesis work for a bit.
Backstory: One of my goals for the next few weeks is to get a tracer bullet for a side project involving a raspPi, an Arduino, a camera stream, and a doggie treat dispenser. I plan to run a Node.js server on the rPi that hosts a game (HTML5/libGDX) starring none other than my dog Lisbeth. If the player wins the game, the rPi will tell the connected Arduino to dispense a dog treat from a servo-driven treat dispenser. The site will also have a live stream of Lisbeth, who will be alerted by a sound when the game is started. For the bullet a simple "click to win" resulting in the servo turning will be enough for me.
I never purchased an official case for the rPi, wanting to do something creative on my own. I toyed with the ideas of putting together a Lego case but those are all buried away in the depths of my childhood, somewhere far away in the countryside of northern Indiana. A quick search of my apartment provided me with the perfect specimen, an old Panasonic mono boombox (complete with a New Kids on the Block sticker).

I ripped the guts out and went ballistic with a Dremel tool. The rPi sits very comfortably in the back, while the Arduino takes the place of the cassette up front.


I power my rPi through a powered USB hub which I attached to the back of the boombox. Throw in some purple LEDs controlled by the Arduino and we can call it a day!
I'm very pleased with the camera module. I was able to set up RTP streaming from the rPi to my laptop using GStreamer1.0, but haven't been able to embed a stream as of yet.
Backstory: One of my goals for the next few weeks is to get a tracer bullet for a side project involving a raspPi, an Arduino, a camera stream, and a doggie treat dispenser. I plan to run a Node.js server on the rPi that hosts a game (HTML5/libGDX) starring none other than my dog Lisbeth. If the player wins the game, the rPi will tell the connected Arduino to dispense a dog treat from a servo-driven treat dispenser. The site will also have a live stream of Lisbeth, who will be alerted by a sound when the game is started. For the bullet a simple "click to win" resulting in the servo turning will be enough for me.
I never purchased an official case for the rPi, wanting to do something creative on my own. I toyed with the ideas of putting together a Lego case but those are all buried away in the depths of my childhood, somewhere far away in the countryside of northern Indiana. A quick search of my apartment provided me with the perfect specimen, an old Panasonic mono boombox (complete with a New Kids on the Block sticker).

I ripped the guts out and went ballistic with a Dremel tool. The rPi sits very comfortably in the back, while the Arduino takes the place of the cassette up front.


I'm very pleased with the camera module. I was able to set up RTP streaming from the rPi to my laptop using GStreamer1.0, but haven't been able to embed a stream as of yet.
Saturday, November 10, 2012
Booming
I have a problem with collecting things. Some might call it hoarding, I call it electronic adoption. One of the items I am constantly on the lookout for is a boombox. You know, those huge clunky 8+ D-cell battery monsters from the 80s. Awkward to lug around, audibly intrusive into other's bubbles, and built around a physical form of media that is all but extinct in the present day. I find it interesting that the image of a boombox is still an icon in today's graphics, and recognizable to those kids who have never even used a cassette tape. Kind of like the floppy disk icon still being used as the universal "Save". But anyway, on to the point of this post.
Some of these boomboxes were built with TVs inside of them. The model I find most often like this is the Emerson XLC-450.

In actual boombox levels, it's a pretty weak contender. One thing going for it is a line-in option, but this guy pretty much just sat on my shelf gathering dust until I started to read up on possible ways to utilize the TV screen for some cool visual stuff. There are plenty of tutorials around the net on how to turn an old TV into somewhat of an oscilloscope, so I figured why the hell not. This will be the third of these models that I've modded this way, so I decided to document the process.
DISCLAIMER: I am not any sort of electronics expert, and honestly am surprised that I didn't blow something/someone up in this process. Attempt at your own risk.
So a CRT display basically works with two coils. One coil moves the electron beam horizontally, the other coil moves it vertically. Looking inside this boombox we can see these coils, with four wires leading up to them.


DISCLAIMER: I am not any sort of electronics expert, and honestly am surprised that I didn't blow something/someone up in this process. Attempt at your own risk.
So a CRT display basically works with two coils. One coil moves the electron beam horizontally, the other coil moves it vertically. Looking inside this boombox we can see these coils, with four wires leading up to them.

Two of these wires control the horizontal coil, two control the vertical. By trial and error you can find the pair that controls the vertical coil (disconnecting the vertical coil will result in a horizontal line on the screen, and vice-versa).

What we're after are the pair of wires that control the vertical coil, which are then resoldered onto the horizontal coil. This is because of the vertical frequency 60Hz, as opposed to the horizontal of 31500Hz, gives us the output that we're after. Switching the wires around the other way (horizontal coil wires stay put, input on the vertical coil) gives a horizontal line that just moves up and down with the input signal. At this point we're ready for some input! I simply split the right channel into the vertical coil. Feeding in a square wave gave me this as output:

Not very impressive so far. If you look around the board itself, you'll see several potentiometers that control the various properties of the screen. (SERIOUSLY: Be careful about poking around in there).

I'm sure these vary from TV to TV, but by twiddling around with different positions of the pots I eventually got a nice solid horizontal line across the screen. The only thing left to do: dim the lights and play some tunes!
Friday, July 20, 2012
The birth of a bike polo mallet
I've recently been introduced to the interesting sport of bike polo (or more specifically "Hardcourt Bike Polo"). It's basically polo on bikes, 3 people on a team and your feet cannot touch the ground at any time. If you do touch the ground, you are then out of play and must tap back in at center court at the wall. The sport greatly surprised me with how fun and addicting it is to become better. It's also another reason to do one of my favorite things, build up and ride a bike! Almost everything about bike polo is centered around "do it yourself", which is another enjoyable aspect in my opinion. This past week my friends down at PROJECTiONE helped me build up a polo mallet of my own, as I was pretty clueless about the whole process.
 A bike polo mallet begins with a shaft. Where does one acquire these shafts? Ski poles! A quick trip down to a local thrift store with my trusty bike trailer and I had about a dozen poles to work with, all for $5.


We ran into a slight problem here. The nut was too wide to fit far enough down the shaft for the bolt to catch.
Kyle knew exactly what to do.
Conclusion:
Sparks are cool.

 Almost done! The next step is to file some teeth into the very end of the shaft so it bites in the mallet head (a tube of UHMW Polyethylene). Drop the nut in, thread the bolt nice and tight and you've got a shiny new mallet to go smack some balls with. You can drill holes into the mallet head to get the weight where you'd like it to be, I'm still experimenting with what I want. I wrapped some old bar tape around the handle to provide a nice grip, and stuck a bouncy ball on the end for some flair. Sadly the bouncy ball didn't last long in actual play, and I'm now in search of a cool new top to my polo mallet.
 A bike polo mallet begins with a shaft. Where does one acquire these shafts? Ski poles! A quick trip down to a local thrift store with my trusty bike trailer and I had about a dozen poles to work with, all for $5.
Next stop, the PROJECTiONE workshop. These guys are awesome at what they do: laser cutting, welding, basically anything creative. My next big decision was which pole I wanted to use for this mallet. This is very important, it's like your Pimp Cane on the court. I ended up choosing a cool white one, surely from the 1980s with "Racing GIPRON" printed on the side of it. It's obvious that GIPRON backwards is NOR Pig, some sort of weird logical riddle that will stump my opponents and allow me extra time to score.
Now that my trusty pole has been chosen,
I stripped all the extra parts from it and measured against other mallets to gauge how long I wanted it to be. Next step: Chop!
Now that my trusty pole has been chosen,
I stripped all the extra parts from it and measured against other mallets to gauge how long I wanted it to be. Next step: Chop!

As my new shaft lay there on the ground bleeding out, we made a quick trip to the hardware store to buy, um, some hardware. The basic idea is to drop a nut (we used a coupling nut to keep it straight) down the shaft from the top and thread a bolt in from the bottom, pulling the mallet head tight.

Utilizing my extensive computer graphic skills I have created an intricate diagram to further explain this step.


We ran into a slight problem here. The nut was too wide to fit far enough down the shaft for the bolt to catch.
Kyle knew exactly what to do.
Conclusion:
Sparks are cool.

 Almost done! The next step is to file some teeth into the very end of the shaft so it bites in the mallet head (a tube of UHMW Polyethylene). Drop the nut in, thread the bolt nice and tight and you've got a shiny new mallet to go smack some balls with. You can drill holes into the mallet head to get the weight where you'd like it to be, I'm still experimenting with what I want. I wrapped some old bar tape around the handle to provide a nice grip, and stuck a bouncy ball on the end for some flair. Sadly the bouncy ball didn't last long in actual play, and I'm now in search of a cool new top to my polo mallet.
If you're interested at all in bike polo, I urge you to look for a group in your area, we play here in Muncie at least once a week (Wednesdays at 6:30 behind Savage's Ale House). Check out our group for more info!
cheers
Subscribe to:
Posts (Atom)